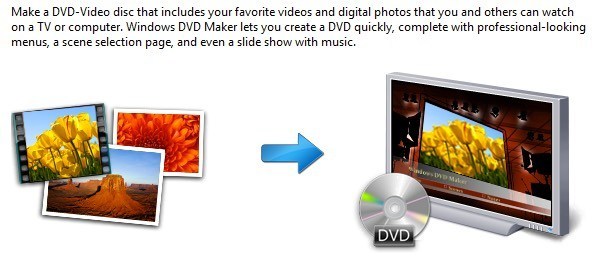
25 Apr How to make a multimedia slide show on a CD and make it visual?
The slides are a common form of communication and presentation. Digital images and music files are combined to form a creative and instructional display. These presentations are good gifts for friends and family on special occasions and holidays, and can be viewed directly on your computer screen and do not require projection.
You will need to make a multimedia slide show on a CD
- Multimedia files
- Blank CD
- CD recorder
- Slide software
Steps to follow:
Determine which media files you want to add.
Insert a blank CD to burn your slide show into your computer’s CD drive.
Click the icon for the software you want to use to create a custom slideshow. There are several programs available, including Cyberlink MediaShow, MAGIX Photos, or Windows Media Center.
Import the music and photo files you want into the software library with “Add Files” or “Import Files”. Organize and arrange the images in the order they will appear in the presentation.
Determine the type of transition you want between photos. Transitions include fading in and out, as well as removing transitions. Add the transitions between the images with the program’s controls.
Add text, such as comments and photo descriptions, if you want. This can help the viewer understand more about the image.
Add music by dragging the music file into the presentation from the library. Some programs have a button similar to “Add Music here” that allows the user to click and navigate through the audio file. Use the control program to adjust the volume, as well as the start and endpoints of the music.
Click “Burn CD” to burn the presentation to a CD. Let the software work until the burning process is complete. The software will inform you when the process is complete.
Remove the CD from the CD drive. Insert the CD into any computer’s CD drive to share the slide show with friends and family.
His presentation must not be larger than the available capacity of the CD. If it is larger, delete the media files until the size is adequate.
Laptop owners can connect their computers to larger screen televisions.
Make a visual presentation
Visual presentations are very common in all types of congresses, study centres and business centres. Traditionally we have seen how the person who had to present his presentation could use transparencies or still images. However, currently and taking into account that we are moving beyond the era of Web 2.0, we have at our disposal many more tools to make presentations that serve as support for what we expose.
Steps to follow:
The first thing we have to do to make a presentation is written a script of how it will unfold. We must be clear about what we want to convey and through what type of language or images we will do it. It is time to use a pen and paper.
The second step to make a visual presentation is to capture our script. For this, we will have to provide ourselves with a series of support material that will help us express our ideas with greater clarity. By support material, we mean graphic material such as photos, drawings, etc., as well as videos and other similar resources.
Once we have the idea, the resources, and the support material, it is a matter of carrying out, slide by slide, the entire presentation as we described it in our initial script. To do this, we will effectively combine the text that describes the idea with the graphics that give it strength on each slide.
To create visual presentations, we can use traditional and well-known programs such as Microsoft PowerPoint or opt for online presentations, making them directly with Internet programs that offer great possibilities.
No Comments